
這裡示範如何在 Python 中使用 Google 雲端硬碟 API,自動上傳圖片、進行文字辨識、下載結果。
在上一篇的 Google 雲端硬碟文字辨識的文章中,我們介紹了以手動的方式上傳圖片,讓 Google 幫忙自動取出圖片中的文字,雖然省去了大量的打字工作,但是若遇到圖片數量很龐大時,以手動上傳還是很吃力的。
其實 Google 的各項服務都有提供 API 的功能,可以讓程式透過 API 存取 Google 的各種服務或使用者資料,以下我們示範如何在 Python 中使用 Google 雲端硬碟 API,實作自動化的文字辨識程式,處理巨量資料。
啟用 Google 雲端硬碟 API
參考 Google Developers 的官方文件,啟用 Google 雲端硬碟 API。
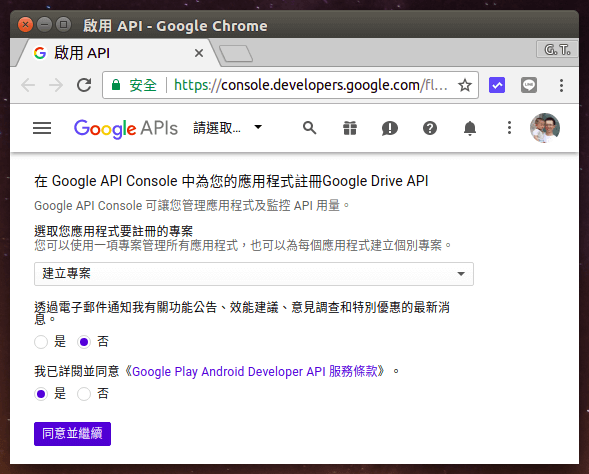
Step 1
開啟 Google Drive API 註冊網頁,選擇「建立專案」,點選同意服務條款,然後點選「同意並繼續」。
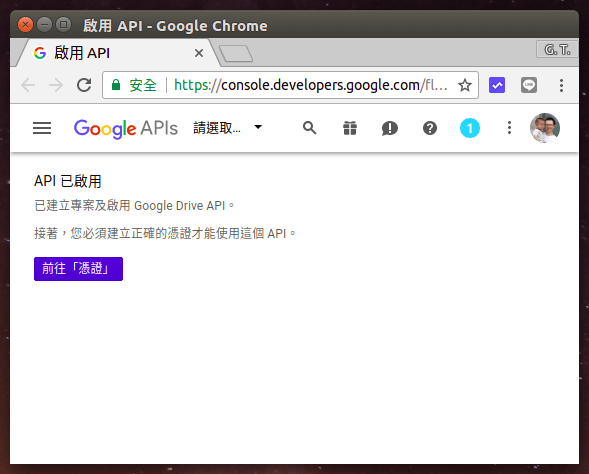
Step 2
啟用 API 之後,點選「前往憑證」。
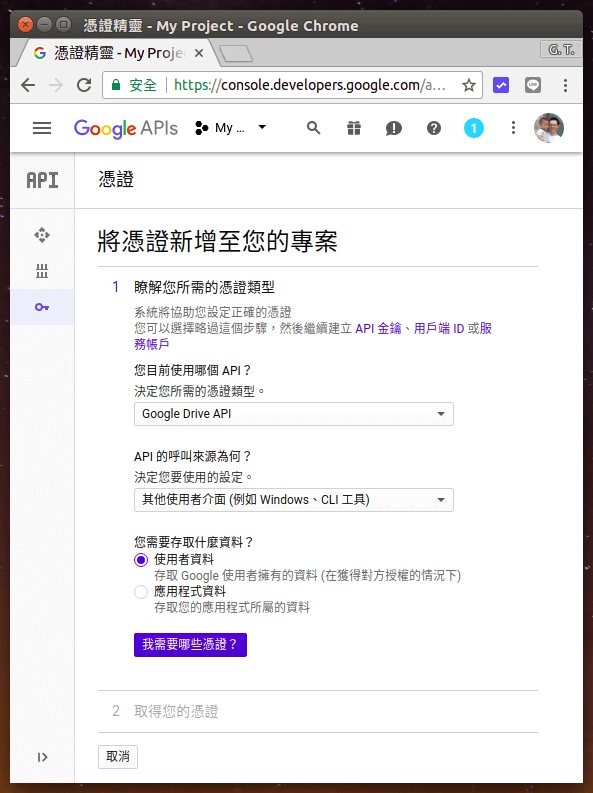
Step 3
憑證類型選擇「Google Drive API」,API 的呼叫來源選擇「其他使用者介面」,存取資料則選擇「使用者資料」。
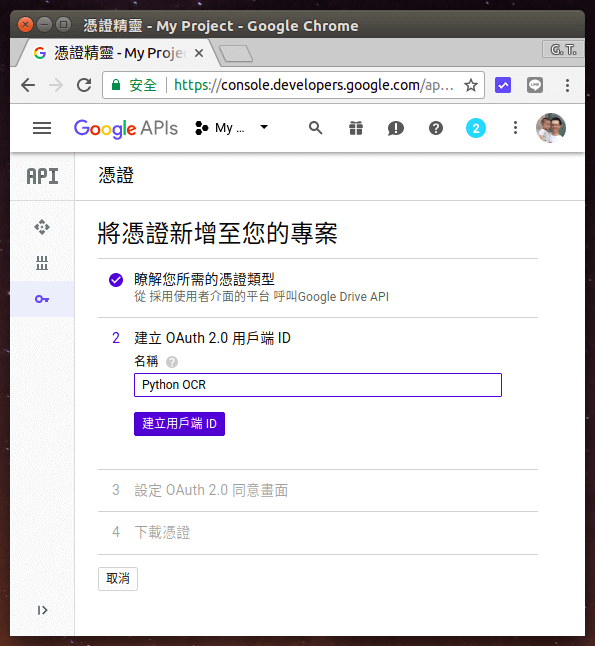
Step 4
填入名稱,由於是自己用的,所以隨便取一個名字就好了。
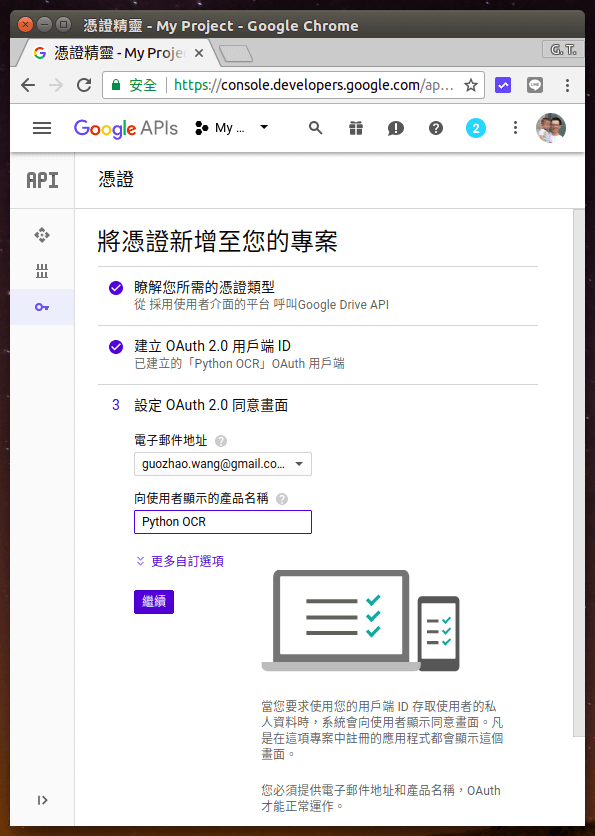
Step 5
設定同意畫面的 Email 與名稱,這裡同樣自己隨便取一個名字即可。
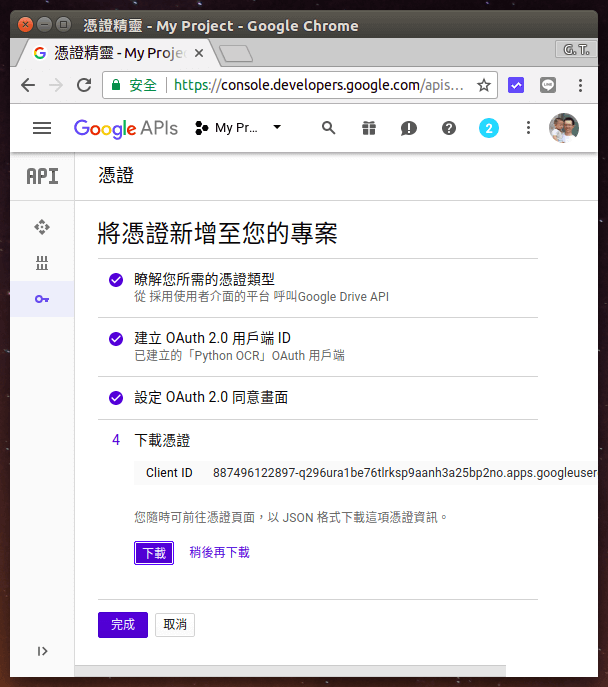
Step 6
下載 JSON 格式的憑證檔案,下載後儲存為 client_id.json,這個檔案在之後的 Python 程式執行時會需要用到。下載完憑證之後,點選「完成」。
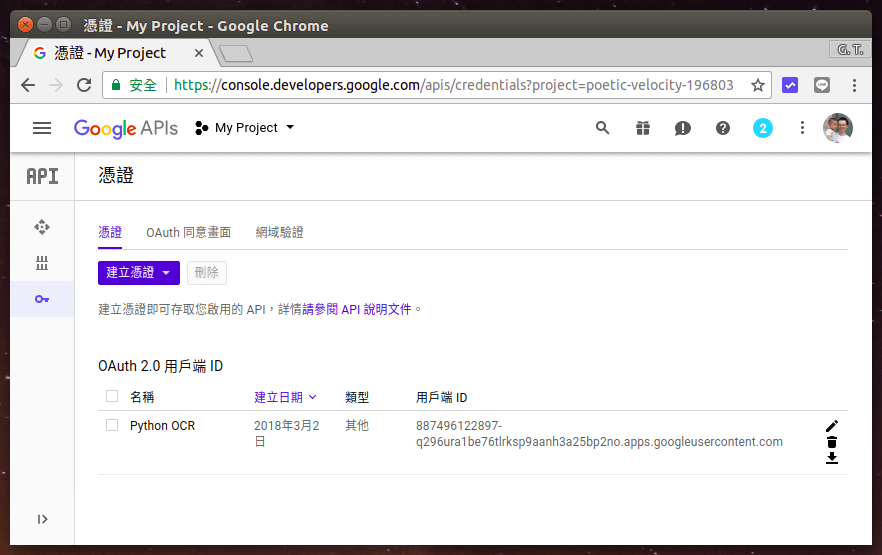
Step 7
這裡可以查看與管理目前已經建立的所有憑證,若憑證不用時就可以在這裡刪除。
安裝 Google Client Library
Google 所提供的 API Client Libraries 可以協助開發者加速程式的開發,請用 pip 安裝:
# Python 2
pip install --upgrade google-api-python-client

# Python 3
pip3 install --upgrade google-api-python-client
Python 程式碼
開發程式之前,請先參考 Google Developers 官方文件所提供的 Python 範例,看懂之後再把程式碼改成自動上傳圖片、下載文字檔的 Python 程式,以下是完整的程式碼。
#!/usr/bin/python3
from __future__ import print_function
import httplib2
import os
import io

from apiclient import discovery
from oauth2client import client
from oauth2client import tools
from oauth2client.file import Storage
from apiclient.http import MediaFileUpload, MediaIoBaseDownload

try:
  import argparse
  flags = argparse.ArgumentParser(parents=[tools.argparser]).parse_args()
except ImportError:
  flags = None

SCOPES = 'https://www.googleapis.com/auth/drive'
CLIENT_SECRET_FILE = 'client_id.json'
APPLICATION_NAME = 'Python OCR'

def get_credentials():
  """取得有效的憑證
     若沒有憑證,或是已儲存的憑證無效,就會自動取得新憑證

     傳回值:取得的憑證
  """
  credential_path = os.path.join("./", 'google-ocr-credential.json')
  store = Storage(credential_path)
  credentials = store.get()
  if not credentials or credentials.invalid:
    flow = client.flow_from_clientsecrets(CLIENT_SECRET_FILE, SCOPES)
    flow.user_agent = APPLICATION_NAME
    if flags:
      credentials = tools.run_flow(flow, store, flags)
    else: # Needed only for compatibility with Python 2.6
      credentials = tools.run(flow, store)
    print('憑證儲存於:' + credential_path)
  return credentials

def main():

  # 取得憑證、認證、建立 Google 雲端硬碟 API 服務物件
  credentials = get_credentials()
  http = credentials.authorize(httplib2.Http())
  service = discovery.build('drive', 'v3', http=http)

  # 包含文字內容的圖片檔案(png、jpg、bmp、gif、pdf)
  imgfile = 'sample.jpg'

  # 輸出辨識結果的文字檔案
  txtfile = 'output.txt'

  # 上傳成 Google 文件檔,讓 Google 雲端硬碟自動辨識文字
  mime = 'application/vnd.google-apps.document'
  res = service.files().create(
    body={
      'name': imgfile,
      'mimeType': mime
    },
    media_body=MediaFileUpload(imgfile, mimetype=mime, resumable=True)
  ).execute()

  # 下載辨識結果,儲存為文字檔案
  downloader = MediaIoBaseDownload(
    io.FileIO(txtfile, 'wb'),
    service.files().export_media(fileId=res['id'], mimeType="text/plain")
  )
  done = False
  while done is False:
    status, done = downloader.next_chunk()

  # 刪除剛剛上傳的 Google 文件檔案
  service.files().delete(fileId=res['id']).execute()

if __name__ == '__main__':
  main()
程式碼的上半部大致上跟官方的範例相同,只不過是修改下方的操作部份,這裡的技巧就是將圖檔上傳為 Google 文件檔,讓 Google 自動進行文字辨識,接著再將該文件下載為文字檔,這樣就可以取得辨識的結果。
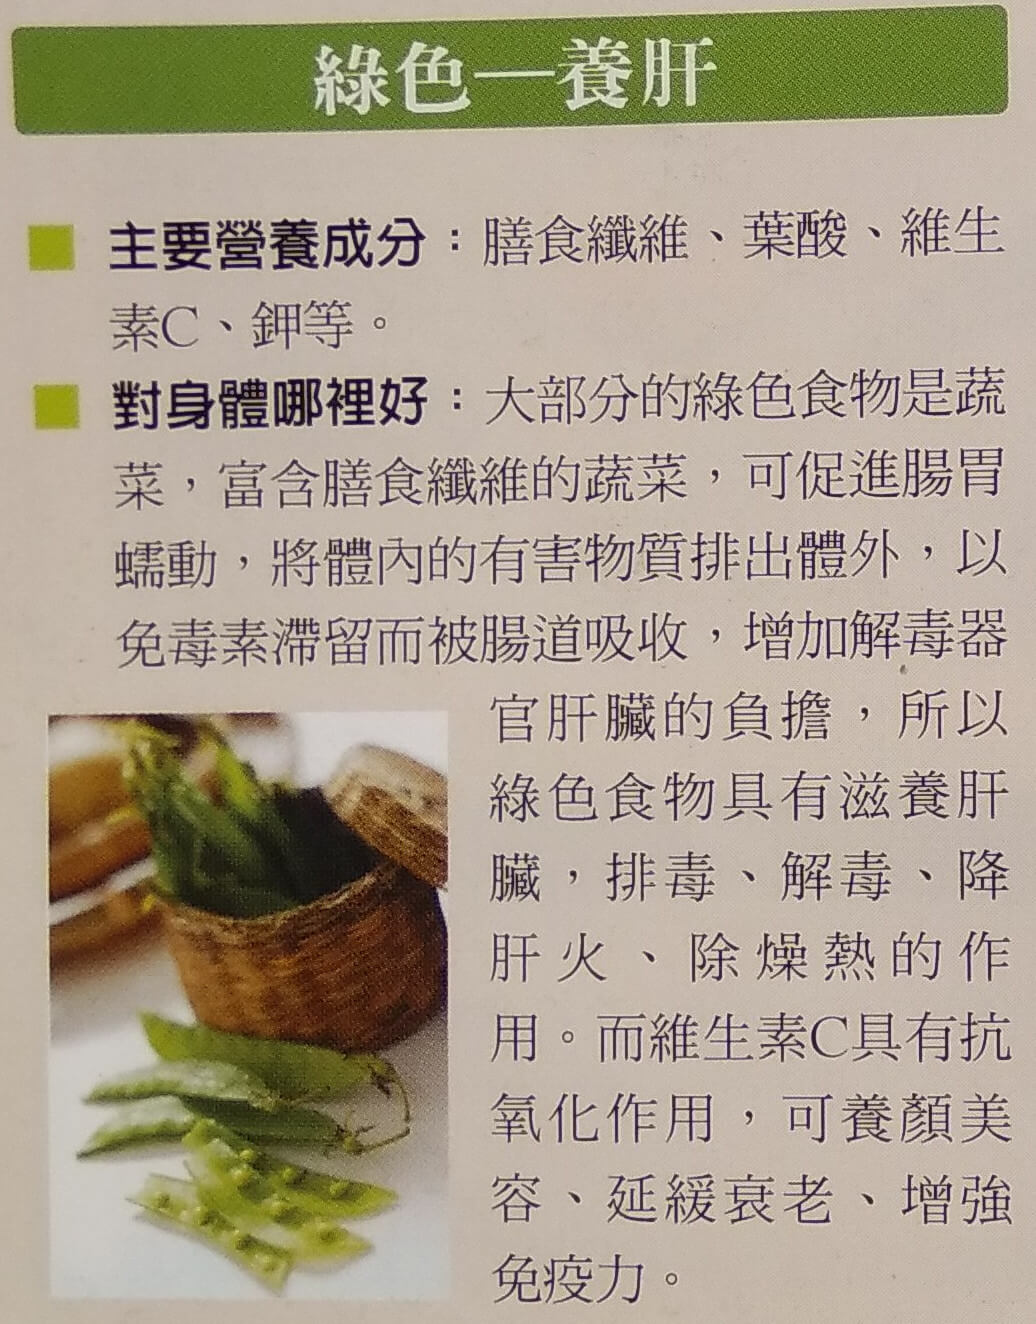
把上面這段 Python 程式碼儲存為 google_ocr.py,然後把要進行辨識的圖片儲存為 sample.jpg,這裡我用這張圖片作為示範。
接著就可以執行 Python 程式進行辨識了:
python3 google_ocr.py
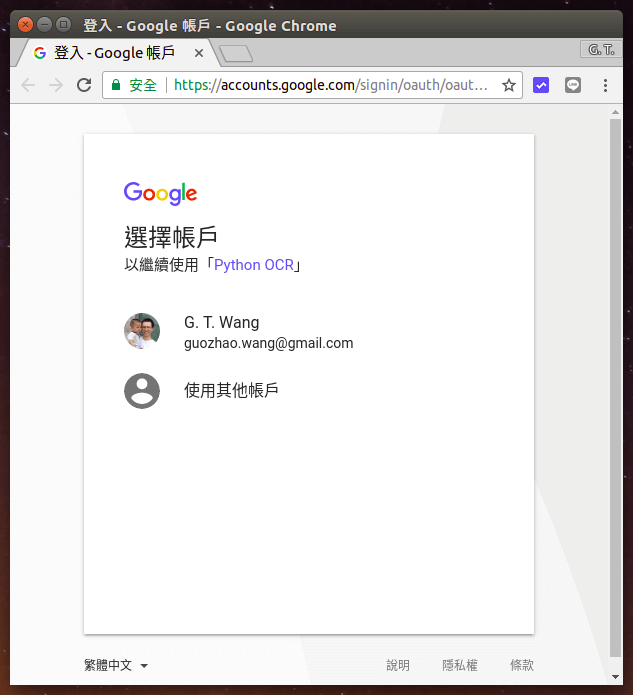
第一次執行時,會跳出一個網頁,取得 Google 雲端硬碟的存取權限,首先選擇要使用的 Google 帳戶。
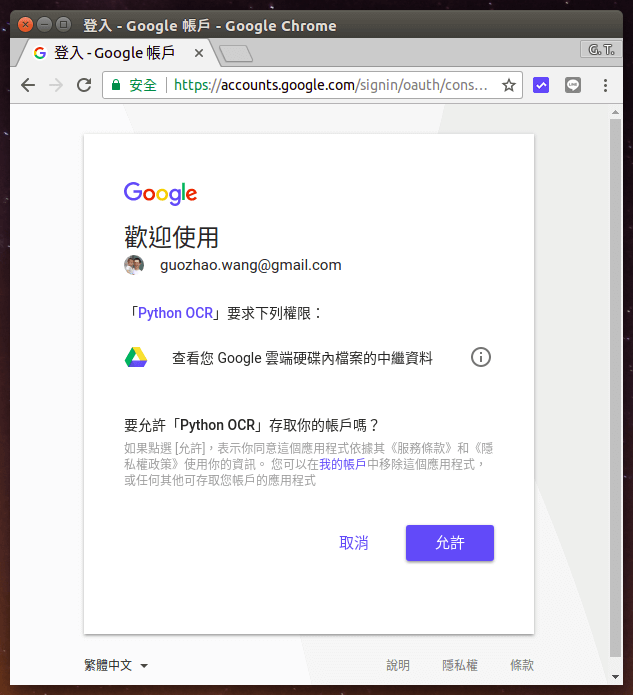
點選「允許」,讓程式取得自己 Google 雲端硬碟的存取權限。
取得授權之後,程式就會自動將圖片上傳至 Google 雲端硬碟進行文字辨識、下載辨識結果,最後自動將上傳至 Google 雲端硬碟上的文件刪除,辨識的結果會儲存至 output.txt 這個文字檔案中。
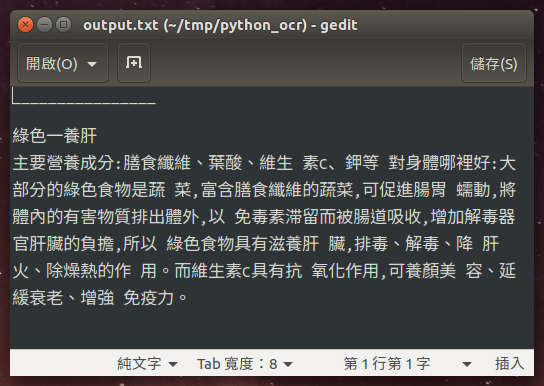
以這個例子來說,辨識的結果很不錯。
本篇示範以 Google 雲端硬碟 API 自動辨識單張圖檔,而有了這個基本的 Python 程式碼之後,只要再加上簡單的迴圈控制,就可以自動處理大量的圖片文字辨識問題,對於有大量資料需要整理的人來說,非常實用。