這裡介紹如何使用樹莓派架設一個無線網路 AP,讓各種無線網路設備透過樹莓派上網。
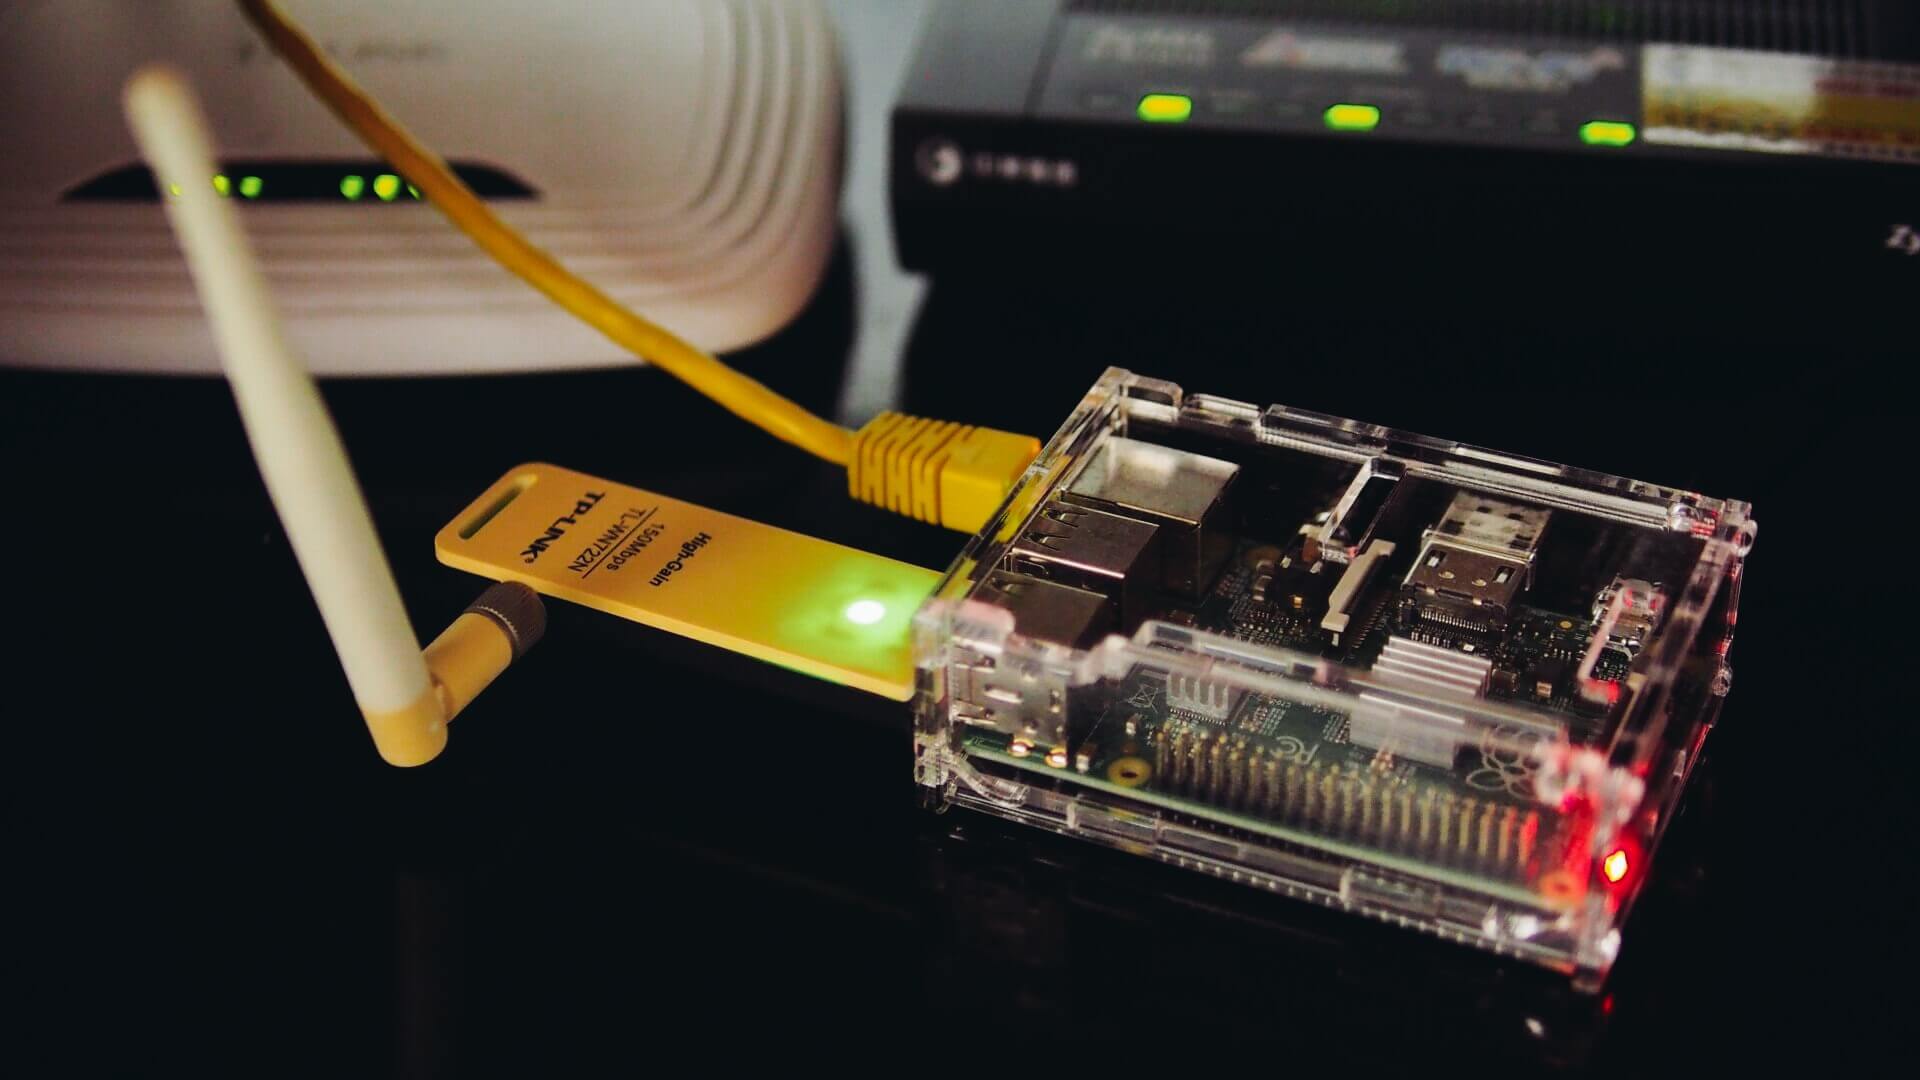
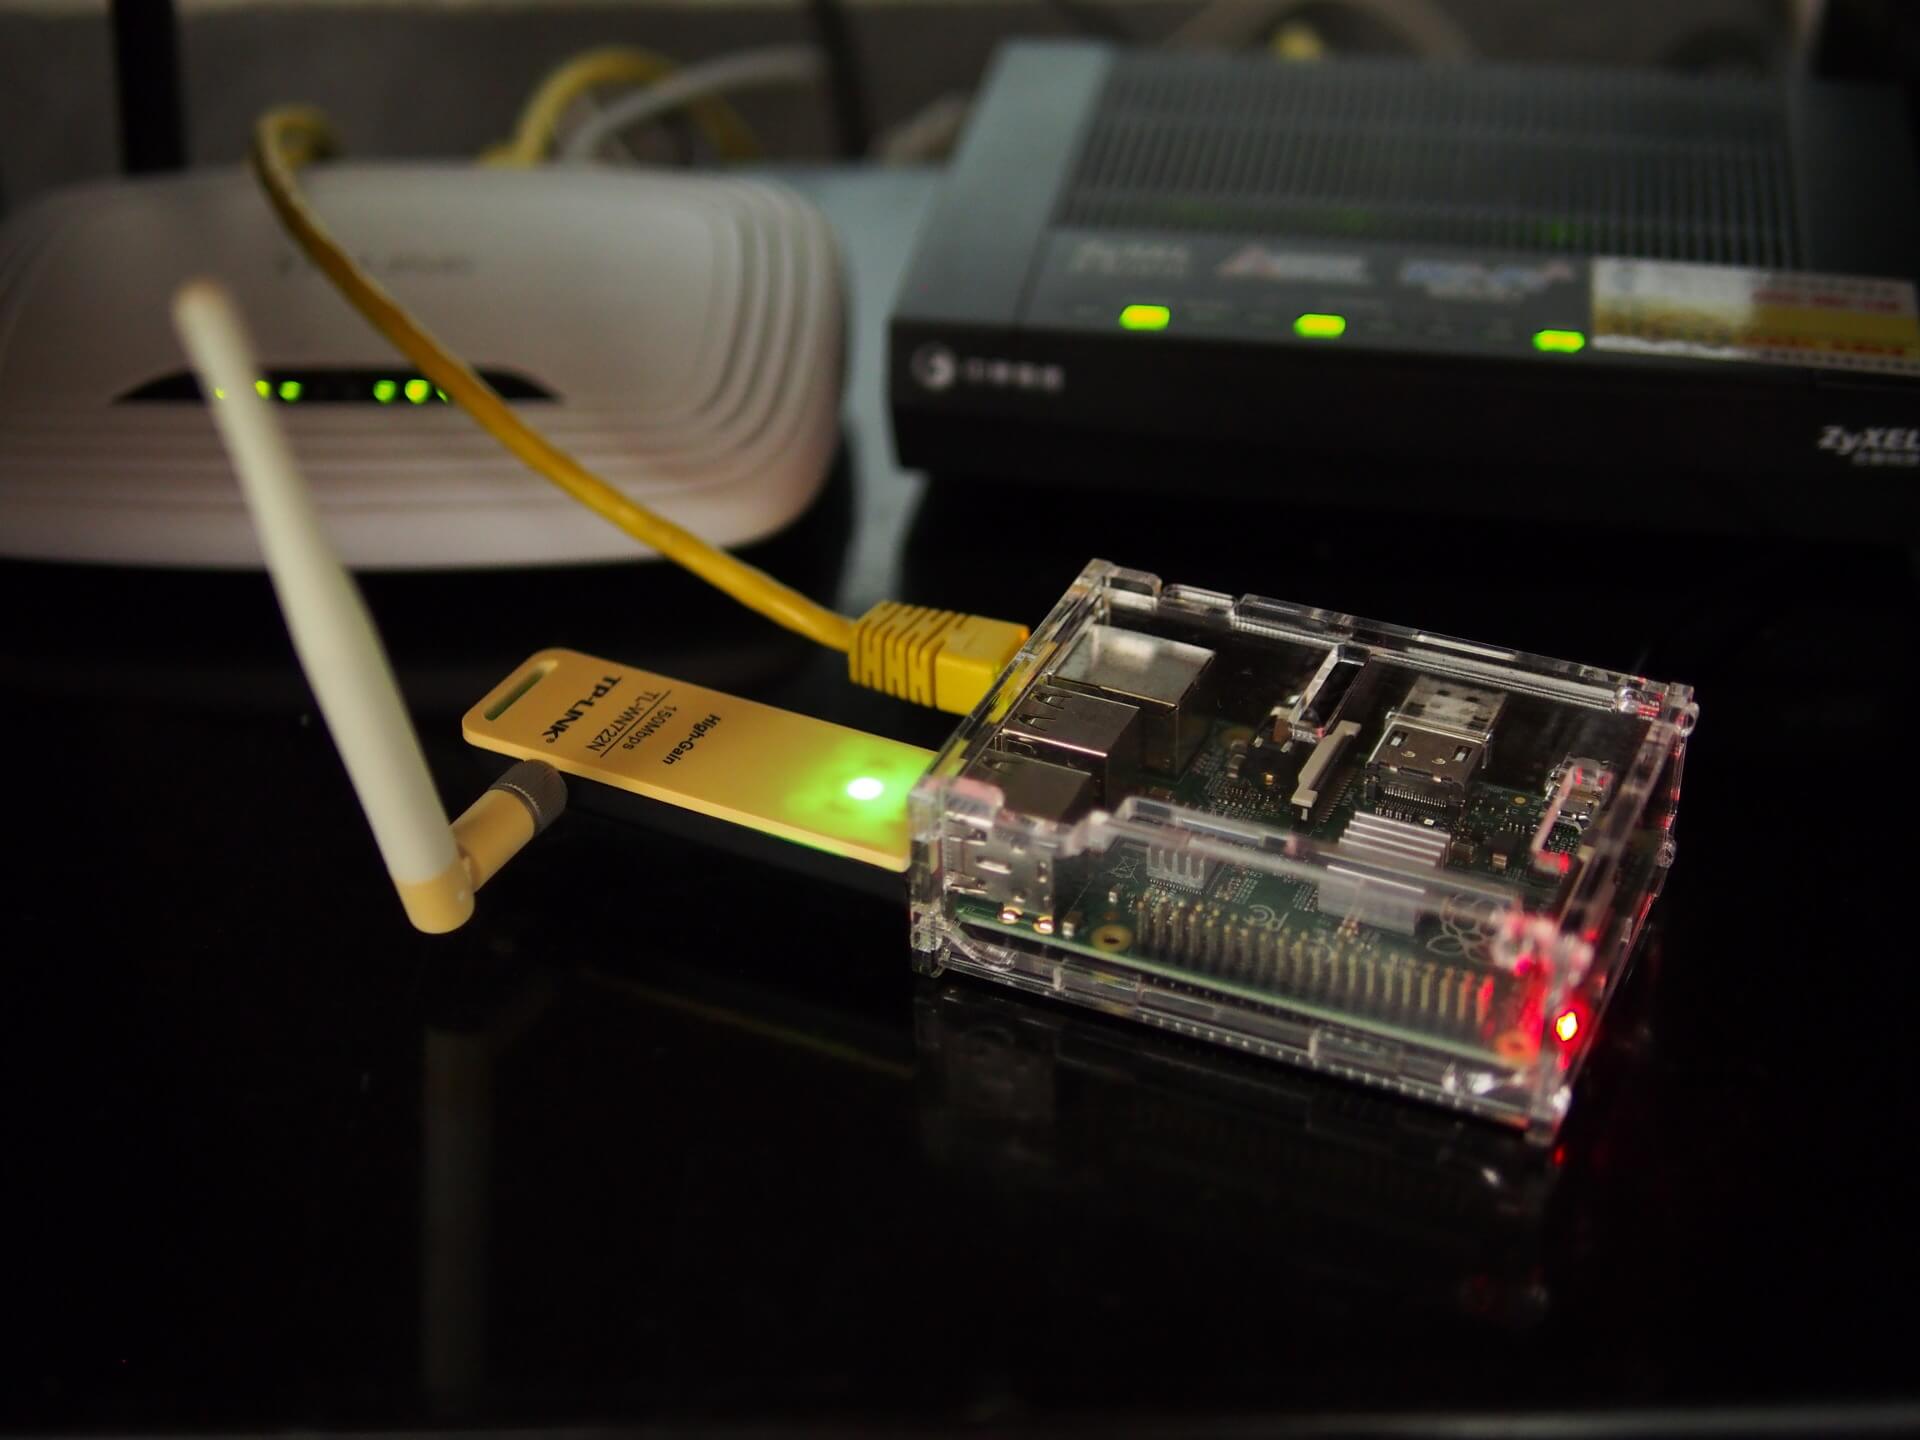
樹莓派在插上一張 USB 無線網路卡之後,可以透過無線網路上網,而除了讓樹莓派上網之外,我們也可以使用同樣一張 USB 無線網路卡將樹莓派打造成無線網路基地台(AP,Access Point),當作 IP 分享器使用。
以下是用樹莓派打造無線 IP 分享器所需要準備的設備:
- 樹莓派開發板一張。
- 支援 AP 模式的 USB 無線網路卡一張,本文使用 TP-LINK TL-WN722N USB 無線網路卡作為示範。
這裡要注意一點,並不是每一張 USB 網路卡都支援 AP 模式,在選擇 USB 網路卡時要先確認一下,有支援 AP 模式的網路卡可以參考 Embedded Linux Wiki。
以下是整個安裝與設定過程。
基本 Linux 系統
將樹莓派安裝好基本的 Linux 系統,若是新手建議使用 NOOBS 安裝。
安裝好 Linux 系統之後,將 USB 無線網路卡插上樹莓派。
網路設定
這裡我規劃使用樹莓派的有線以太網路(eth0)對外,而 USB 無線網路卡(wlan0)則對內,在開始設定之前請先確認自己的樹莓派基本環境是可以正常上網的(也就是 eth0 要先設定好),接著再調整無線網路卡的網路設定。
首先關閉無線網路卡 wlan0:
# 關閉無線網路卡 wlan0
sudo ifdown wlan0
編輯 /etc/network/interfaces 設定檔:
auto eth0
iface eth0 inet static
  address 192.168.0.200
  network 255.255.255.0
  broadcast 192.168.0.255
  gateway 192.168.0.1
  dns-nameservers 192.168.0.1 168.95.192.1 168.95.1.1

auto wlan0
iface wlan0 inet static
  address 192.168.2.1
  netmask 255.255.255.0
這裡需要更改的是 wlan0 的部份,要選定一個新的虛擬網段,並且指定一個固定的 IP 位址。
而 eth0 的部份就要看自己的環境是怎麼設定,我這裡的 eth0 是設定為靜態的固定 IP 位址,使用 DHCP 動態取得應該也是可以。
啟用無線網路卡 wlan0:
# 啟用無線網路卡 wlan0
sudo ifup wlan0
DHCP 伺服器
樹莓派對內的區域網路(wlan0)中需要一台 DHCP 伺服器來配發上網設備的 IP 位址,這樣才能上內部的設備自動取的 IP 上網。
在樹莓派上安裝 DHCP 伺服器:
# 安裝 DHCP 伺服器
sudo apt-get install isc-dhcp-server
編輯 /etc/dhcp/dhcpd.conf 設定檔,將 domain name 的全域設定拿掉:
# option definitions common to all supported networks...
# option domain-name "example.org";
# option domain-name-servers ns1.example.org, ns2.example.org;
設定這個 DHCP 伺服器為官方(authoritative)伺服器:
# If this DHCP server is the official DHCP server for the local
# network, the authoritative directive should be uncommented.
authoritative;
設定要給 DHCP 伺服器配發的 IP 網段,這裡的網段要跟上面無線網路卡的網段相同:
subnet 192.168.2.0 netmask 255.255.255.0 {
  range 192.168.2.10 192.168.2.50;
  option broadcast-address 192.168.2.255;
  option routers 192.168.2.1;
  default-lease-time 600;
  max-lease-time 7200;
  option domain-name "local";
  option domain-name-servers 168.95.192.1, 168.95.1.1;
}
編輯 /etc/default/isc-dhcp-server 設定檔,設定 INTERFACES:
# On what interfaces should the DHCP server (dhcpd) serve DHCP requests?
# Separate multiple interfaces with spaces, e.g. "eth0 eth1".
INTERFACES="wlan0"
設定好之後,重新啟動 DHCP 伺服器:
# 重新啟動 DHCP 伺服器
service isc-dhcp-server restart
並檢查是否有錯誤訊息。
Packet Forwarding
封包轉送(packet forwarding)的作用在於將內部 wlan0 區域網路的封包轉送至 eth0,讓內部的設備可以連線至外部網路。
編輯 /etc/sysctl.conf 設定檔,設定 packet forwarding:
# Uncomment the next line to enable packet forwarding for IPv4
net.ipv4.ip_forward=1
若要讓 packet forwarding 馬上生效,可以執行:
sudo sh -c "echo 1 > /proc/sys/net/ipv4/ip_forward"
設定 NAT:
# 設定 NAT
sudo iptables -t nat -A POSTROUTING -o eth0 -j MASQUERADE
sudo iptables -A FORWARD -i eth0 -o wlan0 -m state --state RELATED,ESTABLISHED -j ACCEPT
sudo iptables -A FORWARD -i wlan0 -o eth0 -j ACCEPT
查看 iptables 的設定:
# 查看 iptables 設定
sudo iptables -t nat -S
sudo iptables -S
接著要讓 NAT 的設定可以在每次開機都自動設定,我們將 iptables 的設定儲存在 /etc/iptables.ipv4.nat 中:
# 將 iptables 的設定儲存在 /etc/iptables.ipv4.nat 中
sudo sh -c "iptables-save > /etc/iptables.ipv4.nat"
編輯 /etc/network/interfaces,加入:
up iptables-restore < /etc/iptables.ipv4.nat
這樣在網路啟動時就會自動設定 NAT。
hostapd 服務
要藉由 USB 無線網路卡建立一個 AP(access point),還需要安裝 hostapd 這個 daemon。
安裝 hostapd:
# 安裝 hostapd
sudo apt-get install hostapd
建立 /etc/hostapd/hostapd.conf 設定檔,我們可以從 /usr/share/doc/hostapd/examples/hostapd.conf.gz 這個範例檔開始修改。
interface 設定為 wlan0:
# AP netdevice name (without 'ap' postfix, i.e., wlan0 uses wlan0ap for
# management frames); ath0 for madwifi
interface=wlan0
設定 driver:
# Driver interface type (hostap/wired/madwifi/test/none/nl80211/bsd);
# default: hostap). nl80211 is used with all Linux mac80211 drivers.
# Use driver=none if building hostapd as a standalone RADIUS server that does
# not control any wireless/wired driver.
driver=nl80211
設定無線網路的 SSID:
# SSID to be used in IEEE 802.11 management frames
ssid=RPi-AP
無線網路連線模式:
# Operation mode (a = IEEE 802.11a, b = IEEE 802.11b, g = IEEE 802.11g,
# ad = IEEE 802.11ad (60 GHz); a/g options are used with IEEE 802.11n, too, to
# specify band)
# Default: IEEE 802.11b
hw_mode=g
無線網路頻道:
# Channel number (IEEE 802.11)
# (default: 0, i.e., not set)
# Please note that some drivers do not use this value from hostapd and the
# channel will need to be configured separately with iwconfig.
#
# If CONFIG_ACS build option is enabled, the channel can be selected
# automatically at run time by setting channel=acs_survey or channel=0, both of
# which will enable the ACS survey based algorithm.
channel=1
MAC 卡號認證機制設定:
# Station MAC address -based authentication
# Please note that this kind of access control requires a driver that uses
# hostapd to take care of management frame processing and as such, this can be
# used with driver=hostap or driver=nl80211, but not with driver=madwifi.
# 0 = accept unless in deny list
# 1 = deny unless in accept list
# 2 = use external RADIUS server (accept/deny lists are searched first)
macaddr_acl=0
無線網路認證演算法設定:
# IEEE 802.11 specifies two authentication algorithms. hostapd can be
# configured to allow both of these or only one. Open system authentication
# should be used with IEEE 802.1X.
# Bit fields of allowed authentication algorithms:
# bit 0 = Open System Authentication
# bit 1 = Shared Key Authentication (requires WEP)
auth_algs=3
# Send empty SSID in beacons and ignore probe request frames that do not
# specify full SSID, i.e., require stations to know SSID.
# default: disabled (0)
# 1 = send empty (length=0) SSID in beacon and ignore probe request for
#     broadcast SSID
# 2 = clear SSID (ASCII 0), but keep the original length (this may be required
#     with some clients that do not support empty SSID) and ignore probe
#     requests for broadcast SSID
ignore_broadcast_ssid=0
WPA 設定:
# Enable WPA. Setting this variable configures the AP to require WPA (either
# WPA-PSK or WPA-RADIUS/EAP based on other configuration). For WPA-PSK, either
# wpa_psk or wpa_passphrase must be set and wpa_key_mgmt must include WPA-PSK.
# Instead of wpa_psk / wpa_passphrase, wpa_psk_radius might suffice.
# For WPA-RADIUS/EAP, ieee8021x must be set (but without dynamic WEP keys),
# RADIUS authentication server must be configured, and WPA-EAP must be included
# in wpa_key_mgmt.
# This field is a bit field that can be used to enable WPA (IEEE 802.11i/D3.0)
# and/or WPA2 (full IEEE 802.11i/RSN):
# bit0 = WPA
# bit1 = IEEE 802.11i/RSN (WPA2) (dot11RSNAEnabled)
wpa=2
設定無線網路的密碼:
# WPA pre-shared keys for WPA-PSK. This can be either entered as a 256-bit
# secret in hex format (64 hex digits), wpa_psk, or as an ASCII passphrase
# (8..63 characters) that will be converted to PSK. This conversion uses SSID
# so the PSK changes when ASCII passphrase is used and the SSID is changed.
# wpa_psk (dot11RSNAConfigPSKValue)
# wpa_passphrase (dot11RSNAConfigPSKPassPhrase)
#wpa_psk=0123456789abcdef0123456789abcdef0123456789abcdef0123456789abcdef
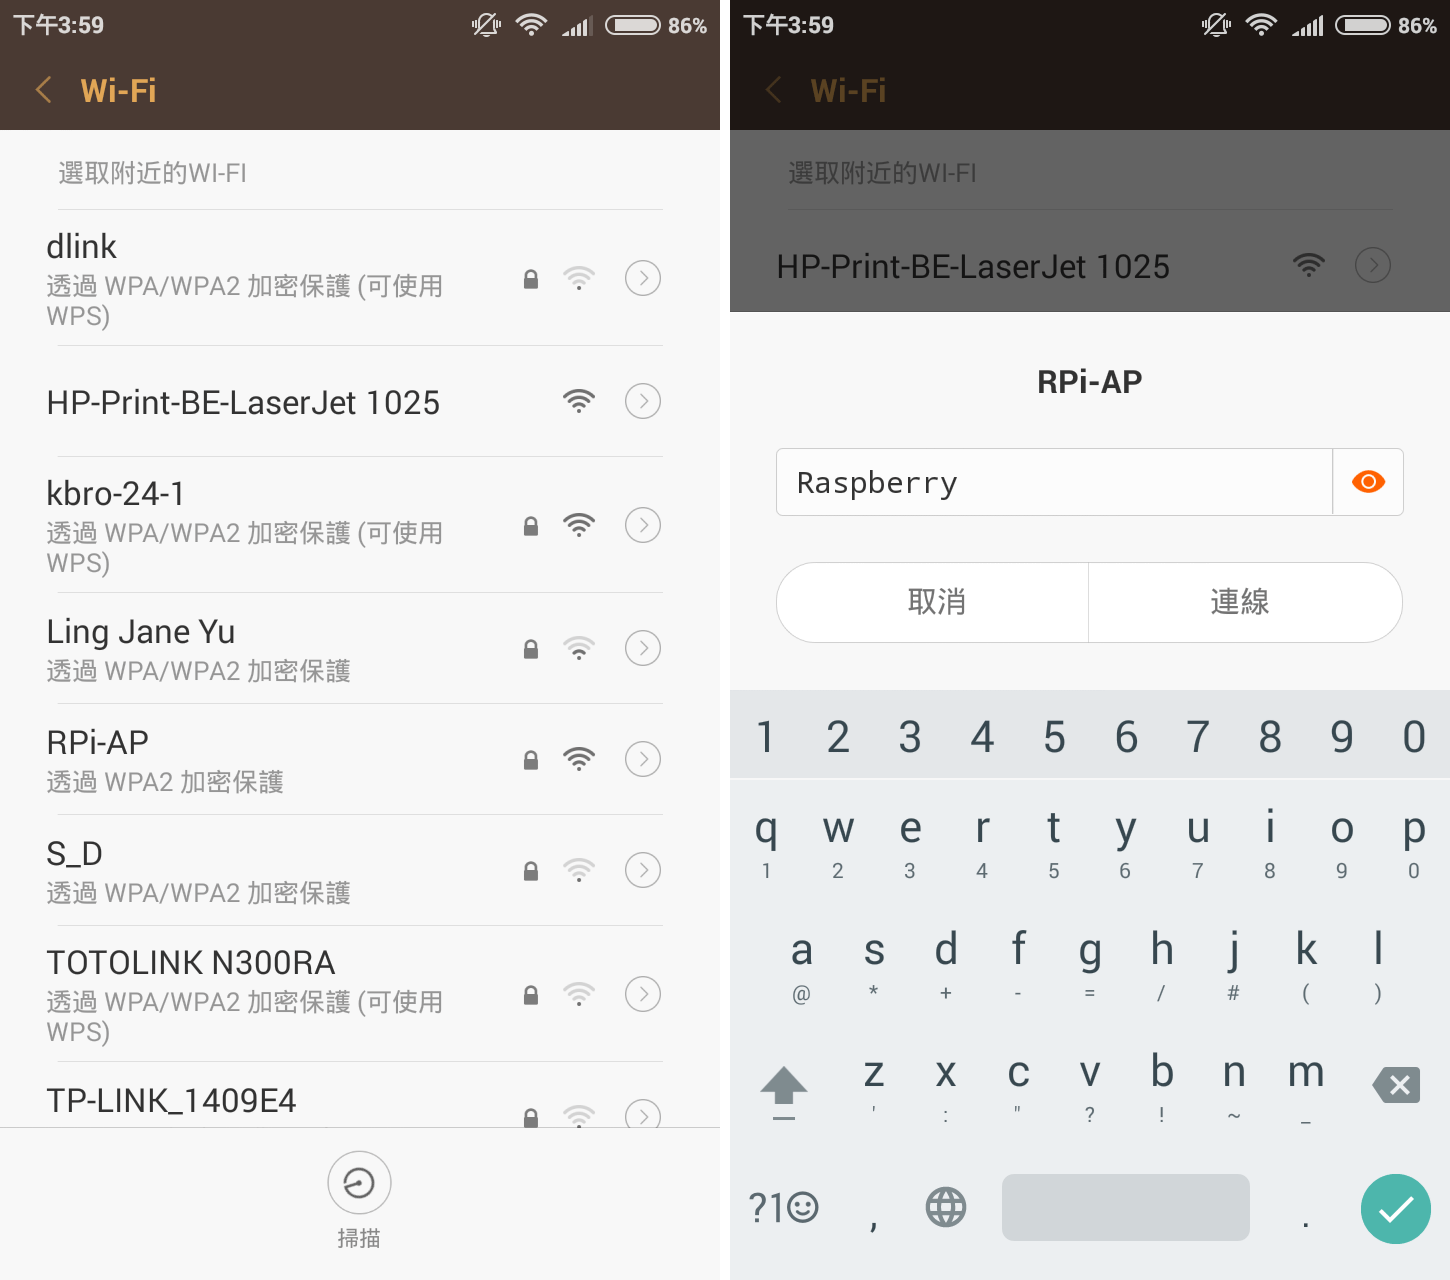
wpa_passphrase=Raspberry
接受的金鑰管理方式:
# Set of accepted key management algorithms (WPA-PSK, WPA-EAP, or both). The
# entries are separated with a space. WPA-PSK-SHA256 and WPA-EAP-SHA256 can be
# added to enable SHA256-based stronger algorithms.
# (dot11RSNAConfigAuthenticationSuitesTable)
#wpa_key_mgmt=WPA-PSK WPA-EAP
wpa_key_mgmt=WPA-PSK
# Set of accepted cipher suites (encryption algorithms) for pairwise keys
# (unicast packets). This is a space separated list of algorithms:
# CCMP = AES in Counter mode with CBC-MAC [RFC 3610, IEEE 802.11i/D7.0]
# TKIP = Temporal Key Integrity Protocol [IEEE 802.11i/D7.0]
# Group cipher suite (encryption algorithm for broadcast and multicast frames)
# is automatically selected based on this configuration. If only CCMP is
# allowed as the pairwise cipher, group cipher will also be CCMP. Otherwise,
# TKIP will be used as the group cipher.
# (dot11RSNAConfigPairwiseCiphersTable)
# Pairwise cipher for WPA (v1) (default: TKIP)
#wpa_pairwise=TKIP CCMP
wpa_pairwise=TKIP
# Pairwise cipher for RSN/WPA2 (default: use wpa_pairwise value)
rsn_pairwise=CCMP
編輯 /etc/default/hostapd 設定檔,設定 DAEMON_CONF 指向 /etc/hostapd/hostapd.conf:
# Uncomment and set DAEMON_CONF to the absolute path of a hostapd configuration
# file and hostapd will be started during system boot. An example configuration
# file can be found at /usr/share/doc/hostapd/examples/hostapd.conf.gz
DAEMON_CONF="/etc/hostapd/hostapd.conf"
測試一下 hostapd 的設定是否正確,使用 root 管理者權限執行 hostapd,並指定設定檔:
sudo hostapd /etc/hostapd/hostapd.conf
檢查輸出是否有問題,正常來說會類似這樣:
Configuration file: /etc/hostapd/hostapd.conf
Using interface wlan0 with hwaddr f8:1a:67:18:3a:ab and ssid "RPi-AP"
wlan0: interface state UNINITIALIZED->ENABLED
wlan0: AP-ENABLED
wlan0: STA 28:e3:1f:50:b9:94 IEEE 802.11: authenticated
wlan0: STA 28:e3:1f:50:b9:94 IEEE 802.11: associated (aid 1)
wlan0: AP-STA-CONNECTED 28:e3:1f:50:b9:94
wlan0: STA 28:e3:1f:50:b9:94 RADIUS: starting accounting session 56BD92F6-00000000
wlan0: STA 28:e3:1f:50:b9:94 WPA: pairwise key handshake completed (RSN)
無如果正常的話,這時候就可以使用新的無線網路 RPi-AP 了。
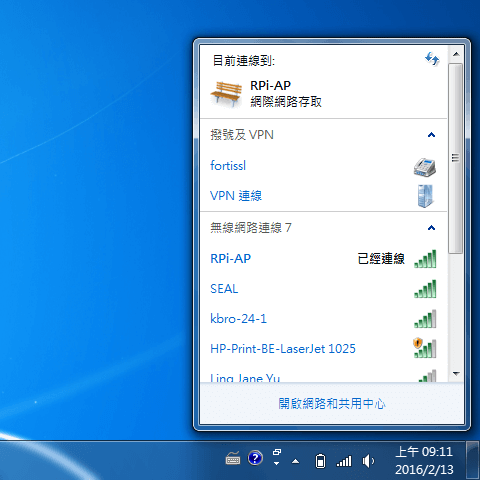
一般手機或平板也可以直接使用。
確定設定無誤之後,可以中斷自己執行的 hostapd,將系統的 hostapd 服務:
sudo service hostapd restart
問題檢查
如果在設定上有問題,無法使用的話,可以用 iw 指令檢查一下自己的 USB 無線網路卡是否支援 AP 模式:
iw list
在輸出中找到 Supported interface modes 這一段:
Supported interface modes:
	 * IBSS
	 * managed
	 * AP
	 * AP/VLAN
	 * monitor
	 * mesh point
	 * P2P-client
	 * P2P-GO
確認網路卡有支援 AP 模式。
另外若是軟體設定有問題,除了在終端機上的錯誤訊息之外,在 /var/log/syslog 紀錄檔中也可以找到一些資訊。