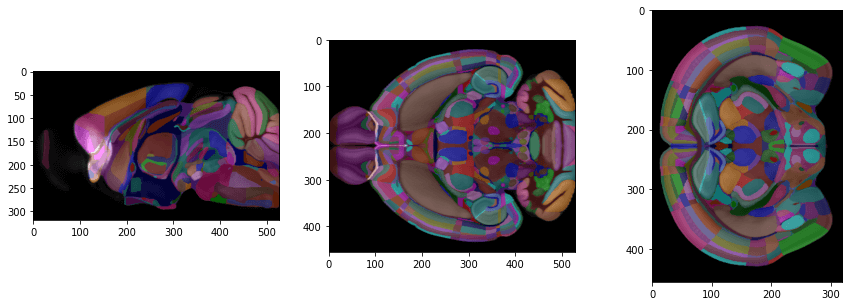
介紹如何使用 SimpleITK 的 LabelOverlay 將標註影像(label image)自動套用色彩後,疊加在原始影像上。
在檢視原始影像與標註影像的對應時,除了用 LabelToRGBImageFilter 將標註影像轉為 RGB 彩色影像之外,也可以利用 LabelOverlay 自動將標註影像轉為 RGB 彩色影像之後,直接疊在原始影像上面。
import SimpleITK as sitk
import matplotlib.pyplot as plt

# 讀取平均腦影像檔案
avgImage = sitk.ReadImage("average_template/average_template_25.nrrd")

# 讀取影像標註檔案
anoImage = sitk.ReadImage("annotation/ccf_2017/annotation_25.nrrd")

# 將影像轉為 8 位元無號整數
avgImageUint8 = sitk.Cast(sitk.RescaleIntensity(avgImage,
                  outputMinimum=, outputMaximum=255), sitk.sitkUInt8)

# 套疊標註影像
overlay = sitk.LabelOverlay(avgImageUint8, anoImage, opacity=0.4)

# 顯示影像切面
nda = sitk.GetArrayViewFromImage(overlay)
fig, axs = plt.subplots(1, 3, figsize=(15, 5))
axs[0].imshow(nda[nda.shape[0]//2,:,:])
axs[1].imshow(nda[:,nda.shape[1]//2,:])
axs[2].imshow(nda[:,:,nda.shape[2]//2])
plt.show()
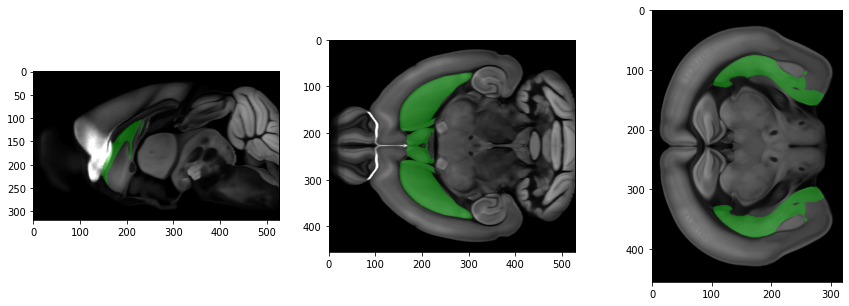
通常影像分割(image segmentation)所產生的二進位(binary)遮罩影像,也都會使用 LabelOverlay 來套疊,方便觀察分割結果(程式碼都相同,只是檔案內容不同而已):
import SimpleITK as sitk
import matplotlib.pyplot as plt

# 讀取平均腦影像檔案
avgImage = sitk.ReadImage("average_template/average_template_25.nrrd")

# 讀取影像分割遮罩檔案
anoImage = sitk.ReadImage("annotation/ccf_2017/structure_masks/structure_masks_25/structure_477.nrrd")

# 將影像轉為 8 位元無號整數
avgImageUint8 = sitk.Cast(sitk.RescaleIntensity(avgImage,
                  outputMinimum=0, outputMaximum=255), sitk.sitkUInt8)

# 套疊遮罩影像
overlay = sitk.LabelOverlay(avgImageUint8, anoImage, opacity=0.4)

# 顯示影像切面
nda = sitk.GetArrayViewFromImage(overlay)
fig, axs = plt.subplots(1, 3, figsize=(15, 5))
axs[0].imshow(nda[nda.shape[0]//2,:,:])
axs[1].imshow(nda[:,nda.shape[1]//2,:])
axs[2].imshow(nda[:,:,nda.shape[2]//2])
plt.show()