
介紹如何使用 ITK 的 BinaryMask3DMeshSource 將二元影像(binary image)轉為網格(mesh)構成的 surface。
相關文章:
ITK 使用 TriangleMeshToBinaryImageFilter 將 Surface 轉為二元影像教學與範例
VTK 使用 vtkDiscreteMarchingCubes 將二元遮罩影像轉為 Mesh 網格教學與範例
Python 語言版本
BinaryMask3DMeshSource 可以將三維的二元遮罩影像轉換為網格,首先定義好來源遮罩影像的類型,以及轉出的網格類型:
import itk
import matplotlib.pyplot as plt

# 設定網格與影像的類型
MeshType = itk.Mesh[itk.F, 3]
PixelType = itk.UC
ImageType = itk.Image[PixelType, 3]
讀取二元遮罩影像(這裡使用 Allen Mouse Brain CCFv3 標註影像作為範例):
# 讀取二元遮罩影像
maskImageFilename = "structure_477.nrrd"
maskImage = itk.imread(maskImageFilename, PixelType)
先以 matplotlib 查看遮罩影像各方向的截面:
# 查看遮罩影像各方向截面
nda = itk.GetArrayViewFromImage(maskImage)
fig, axs = plt.subplots(1, 3, figsize=(15, 5))
axs[0].imshow(nda[nda.shape[0]//2,:,:], cmap = 'gray')
axs[1].imshow(nda[:,nda.shape[1]//2,:], cmap = 'gray')
axs[2].imshow(nda[:,:,nda.shape[2]//2], cmap = 'gray')
plt.show()
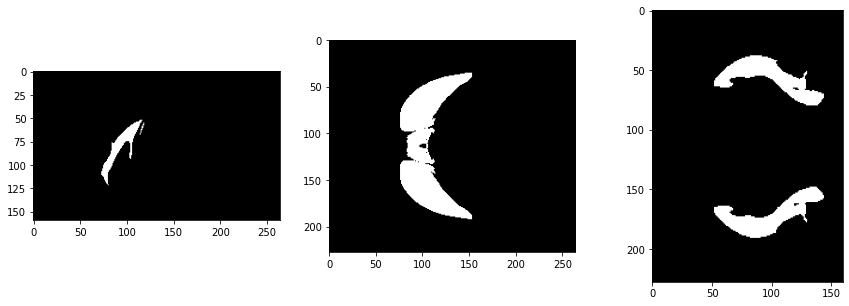
建立 BinaryMask3DMeshSource 之後,設定來源影像與物件的遮罩數值,即可將遮罩轉為網格:
# 以 BinaryMask3DMeshSource 將遮罩影像轉為網格
MeshSourceType = itk.BinaryMask3DMeshSource[ImageType, MeshType]
meshSource = MeshSourceType.New()
meshSource.SetInput(maskImage)
meshSource.SetObjectValue(1)
meshSource.Update()

# 取得產生的網格結果
mesh = meshSource.GetOutput()
以 itkwidgets 顯示網格:
# 以 itkwidgets 顯示網格
import itkwidgets
itkwidgets.view(geometries = mesh)
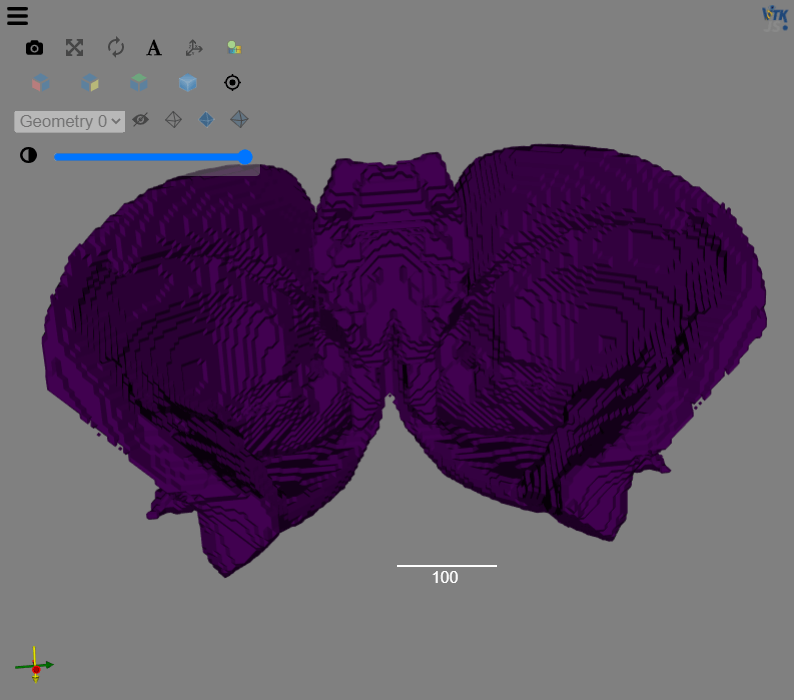
若要將產生的網格資料儲存起來,可以使用 MeshFileWriter:
# 儲存 Mesh 網格檔案
meshWriter = itk.MeshFileWriter[MeshType].New()
meshIO = itk.OBJMeshIO.New()
meshWriter.SetMeshIO(meshIO)
meshWriter.SetInput(mesh)
meshWriter.SetFileName("mesh.obj")
meshWriter.Update()
C++ 語言版本
在 C++ 中使用 BinaryMask3DMeshSource 的方式也都相同,只是以不同程式語言實作而已。
#include <itkImageFileReader.h>
#include <itkBinaryMask3DMeshSource.h>
#include <itkMeshFileWriter.h>
#include <itkOBJMeshIO.h>
#include <itkImage.h>

int main() {
  // 設定網格與影像的類型
  using MeshType = itk::Mesh<double, 3>;
  using PixelType = unsigned char;
  using ImageType = itk::Image<PixelType, 3>;

  // 讀取二元遮罩影像
  using ReaderType = itk::ImageFileReader<ImageType>;
  ReaderType::Pointer reader = ReaderType::New();
  reader->SetFileName("structure_477.nrrd");

  // 以 BinaryMask3DMeshSource 將遮罩影像轉為網格
  using MeshSourceType = itk::BinaryMask3DMeshSource<ImageType, MeshType>;
  MeshSourceType::Pointer meshSource = MeshSourceType::New();
  meshSource->SetInput(reader->GetOutput());
  meshSource->SetObjectValue(1);
  meshSource->Update();

  // 儲存 Mesh 網格檔案
  using MeshWriterType = itk::MeshFileWriter<MeshType>;
  MeshWriterType::Pointer meshWriter = MeshWriterType::New();
  meshWriter->SetMeshIO(itk::OBJMeshIO::New());
  meshWriter->SetInput(meshSource->GetOutput());
  meshWriter->SetFileName("mesh.obj");
  meshWriter->Update();

  return EXIT_SUCCESS;
}
將此 C++ 範例程式碼儲存於 ConvImage2Mesh.cpp 之後,搭配以下 CMakeLists.txt 設定以 CMake 編譯:
cmake_minimum_required(VERSION 3.10.2)

# 設定專案名稱
project(ConvImage2Mesh)

# 尋找並引入 ITK 函式庫
find_package(ITK REQUIRED)
include(${ITK_USE_FILE})

# 增加一個執行檔
add_executable(ConvImage2Mesh ConvImage2Mesh.cpp)

# 定義執行檔連結方式
target_link_libraries(ConvImage2Mesh ${ITK_LIBRARIES})